0
0
Why Crimping an RJ45 Feels Impossible (But Really Isn’t)
If you’ve ever sat on the floor with a crimping tool, a Cat6 cable, a handful of RJ45 plugs and the T568B diagram, muttering “how do people DO this?”, you’re not alone.
Online forums are is full of posts from people who swear they’re following the wiring diagram, but their tester still shows dead pins, random failures, or no link at all. The good news is that crimping an RJ45 connector is a learnable skill, and most failures come down to a few repeatable mistakes.
In this guide, we’ll walk through how to crimp RJ45 connectors on Cat5e/Cat6 Ethernet cable step by step, explain the difference between cable types, show you how to avoid the classic mistakes, and help you decide when it’s better to use keystone jacks or pre-made patch cables instead.
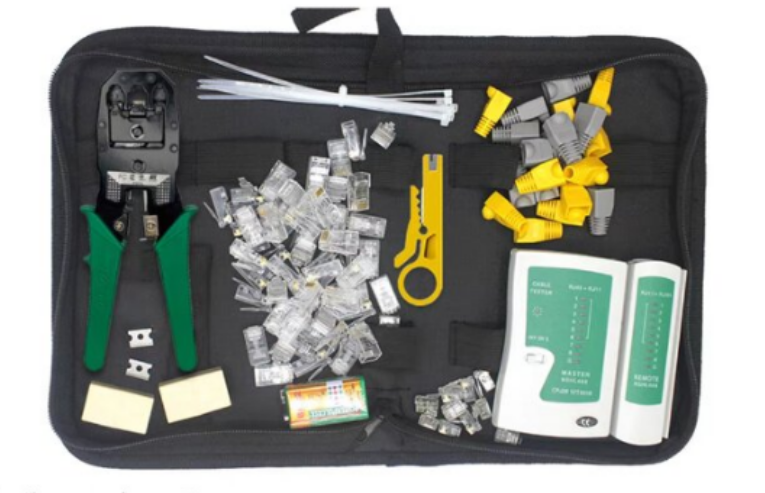
Tools and Materials You Need Before You Start
Before you worry about hand dexterity, make sure you’re working with the right materials. A lot of “mystery failures” discussed in online communities come from using the wrong cable or the wrong type of RJ45 plug.
Choosing the right Ethernet cable: Cat5e vs Cat6, solid vs stranded
There are two big distinctions that matter when you crimp:
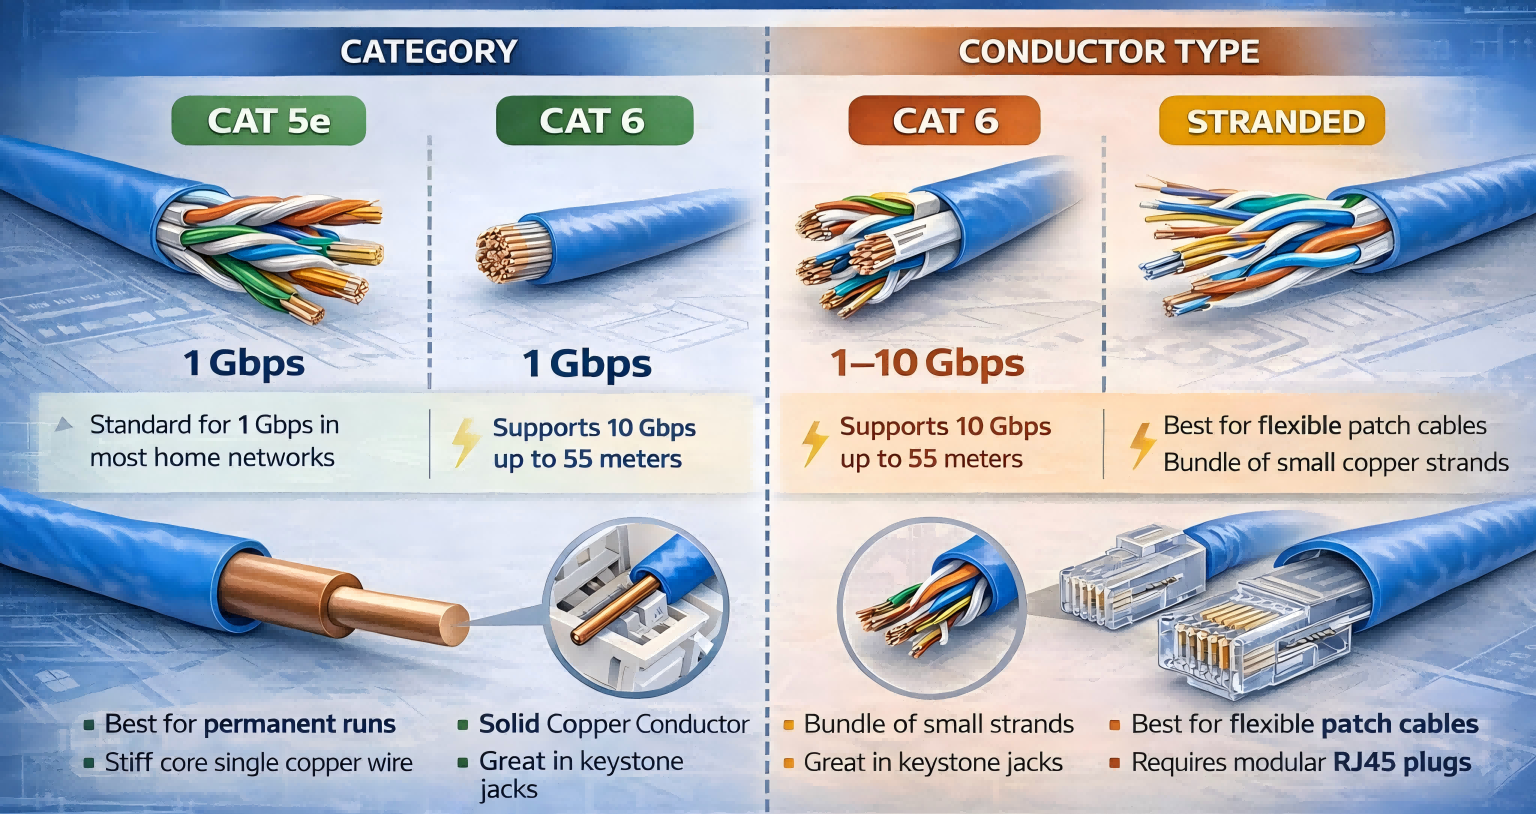
1. Category (Cat5e vs Cat6 vs Cat6a)
○ Cat5e is still fine for 1 Gbit/s in most home networks.
○ Cat6 and above have tighter twists and often a thicker gauge, making them slightly harder to work with but better for higher speeds and longer runs.
2. Conductor type: solid vs stranded
○ Solid cable is typically used for in-wall or permanent runs. Each conductor is a single solid copper wire. It holds shape, is great in punch-down keystones, but doesn’t like being flexed repeatedly.
○ Stranded cable is used for patch cables. Each conductor is made of many small strands. It’s flexible and survives constant movement, but it needs RJ45 plugs designed for stranded conductors.
If you are crimping directly onto a cable, double-check what you have printed on the jacket. If it’s solid cable, the more “correct” way is actually to terminate it into a keystone jack or patch panel, then use a pre-made patch cable from jack to device.
You can crimp RJ45 plugs onto solid cable, but you must use plugs rated for solid conductors. The same goes for stranded cable: use plugs designed for stranded, or a universal type that explicitly supports both.
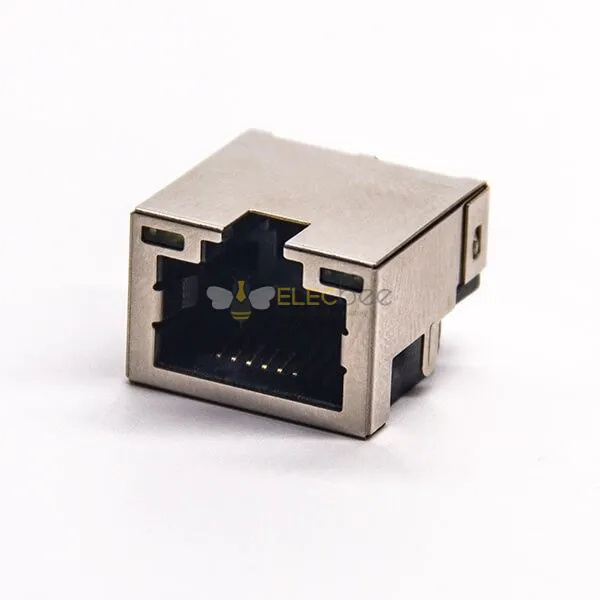
Matching RJ45 plugs to your cable type
RJ45 plugs are not all the same. Key differences include:
• For solid or stranded conductors – the metal “teeth” inside the plug are shaped differently to bite into a single solid core vs multiple strands.
• Cable category and diameter – Cat6 plugs are designed for slightly thicker conductors and often have better strain relief for the larger jacket. Using a Cat6 plug on thin, off-brand cable can mean the pins never penetrate properly.
• Standard vs pass-through –
○ Standard plugs stop the wires at the front. You must cut all eight conductors to exactly the same length and push them in until they hit the end.
○ Pass-through plugs let the wires exit out of the front, so you can see the order before crimping. A pass-through crimper will cut the extra length off.
If the plug and cable don’t match (for example, a shielded Cat6 plug on skinny non-standard cable), your pins may never make solid contact, no matter how hard you squeeze.
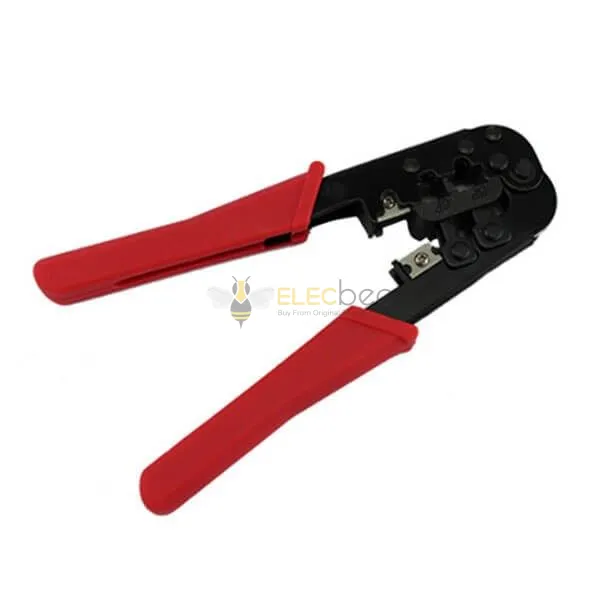
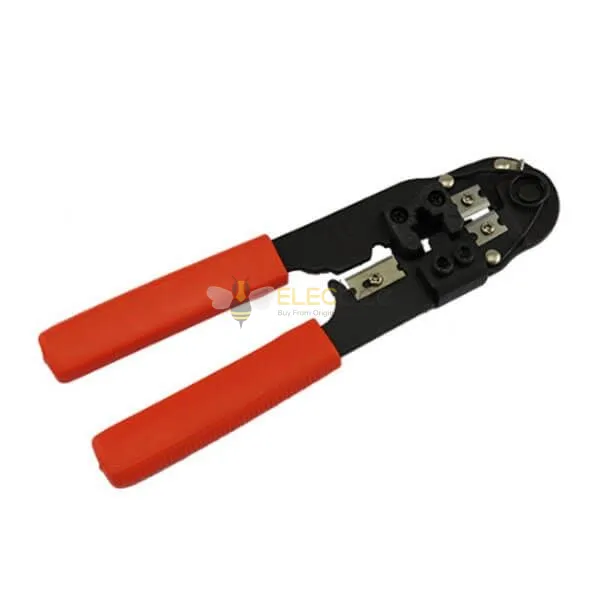
Crimping tools and testers
At minimum, you’ll want:
• A decent RJ45 crimping tool (ideally ratcheting, so it stops at the correct force)
• A cable jacket stripper or the stripping section on the crimper
• A basic cable tester to confirm continuity on all eight pins
If you choose pass-through connectors, you’ll also need a pass-through-compatible crimper that crimps and flush-cuts the conductors in one motion.
Step-by-Step: How to Crimp an RJ45 on Cat5e/Cat6
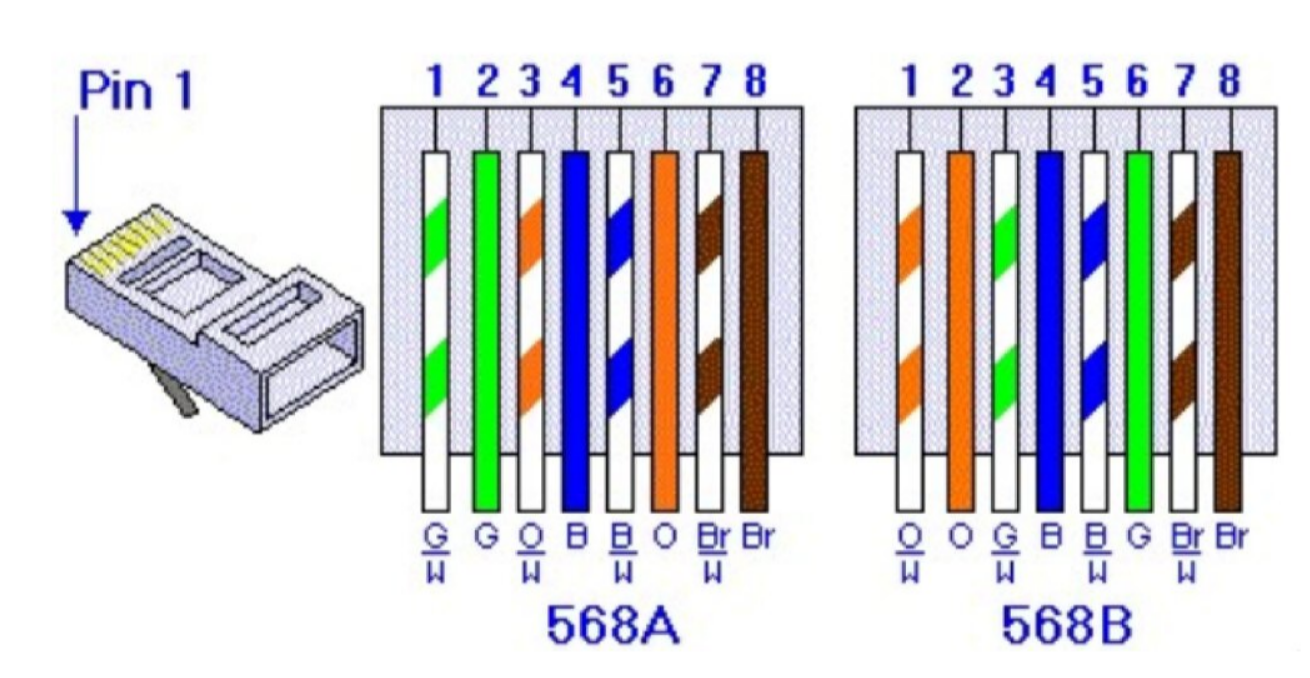
We’ll assume T568B wiring, which is the most common in home and small office networks.
T568B color order (left to right, clip facing away from you):
1. White-orange
2. Orange
3. White-green
4. Blue
5. White-blue
6. Green
7. White-brown
8. Brown
Step 1 – Strip the jacket without damaging the conductors
1. Measure about 2–3 cm (around 1 inch) from the end of the cable.
2. Use the jacket stripper to lightly cut around the outer jacket. Don’t press so hard that you nick the conductors underneath.
3. Bend the cable slightly at the cut so the jacket splits, then pull it off.
4. If you see any nicks on the insulation of the individual wires, cut the whole end off and try again. A nicked conductor can break later and cause intermittent faults.
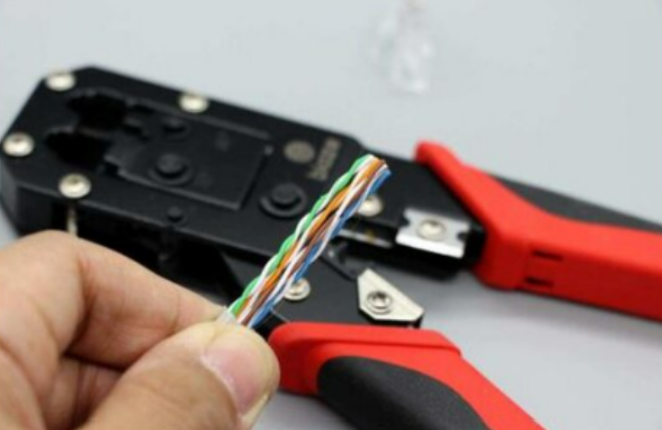
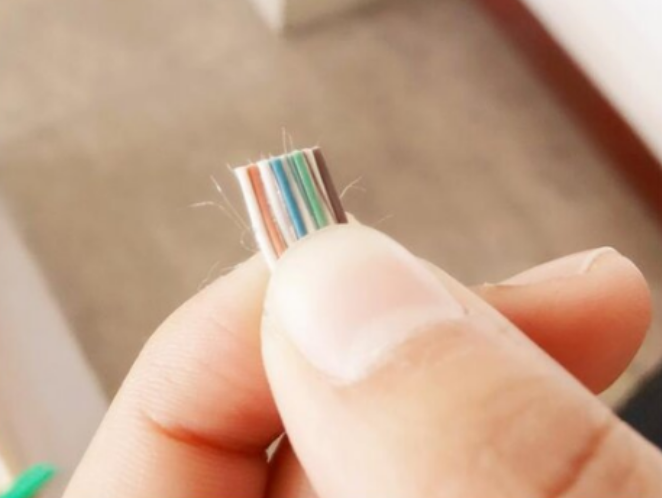
Step 2 – Untwist, straighten, and arrange the wires in order
1. You’ll see four twisted pairs. Untwist each pair down to just above where the jacket ends.
2. Use your fingernails or your thumb and forefinger to roll each conductor until it lies as straight and flat as possible. This is the part Reddit users complain about, but it becomes easier with practice.
3. Arrange the wires in T568B order from left to right. Try to get them in order all the way back to the jacket, not just at the very tips.
4. Pinch the bundle firmly between your thumb and index finger right above the jacket and “comb” the loose ends with your other hand to make them lie perfectly flat and parallel.
A useful trick from experienced installers: gently bend the cable a little further back so you have a solid pushing point. This makes it easier to slide the sorted conductors into the plug without them swapping positions.
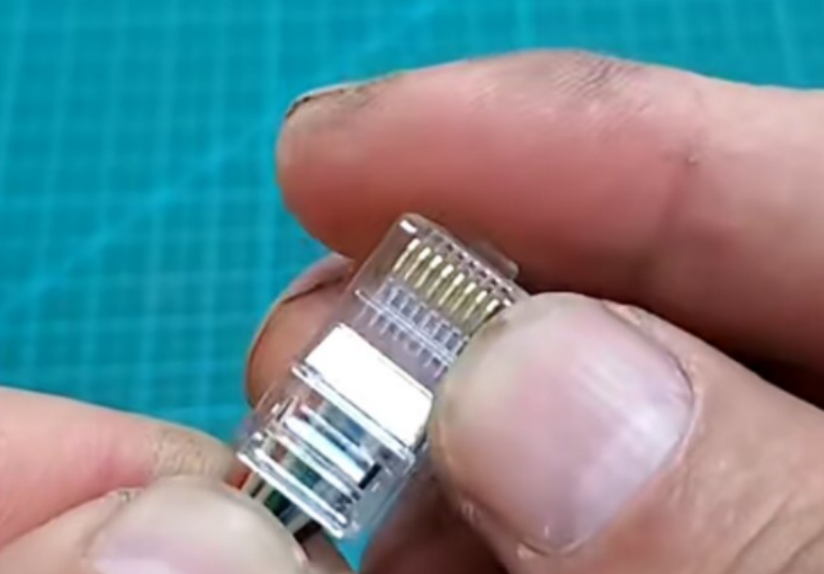
Step 3 – Trim to length and insert into the plug
1. Hold an RJ45 plug next to the wires with the clip facing down and the contacts facing you.
2. Estimate how much length you need so that:
○ The jacket will sit inside the plug far enough for the strain-relief tab to bite into it when crimped.
○ The untwisted wires are as short as possible while still reaching the end of the plug.
3. Cut all eight wires in one clean, straight cut using flush cutters or the cutting section of your crimper. You want a perfectly flat front.
4. While still pinching firmly near the jacket, slide the wires into the plug channels. Make sure:
○ Each wire goes into its own slot.
○ The order remains correct.
○ Every conductor reaches all the way to the front of the plug. You should see each color clearly at the tip.
○ The cable jacket is inside the plug, reaching the strain-relief area. If you can see bare conductors outside the plug, you stripped too much jacket.
With pass-through RJ45 connectors, you can leave the wires longer, push them through until they stick out the front, verify the order, then crimp and let the tool cut everything flush.
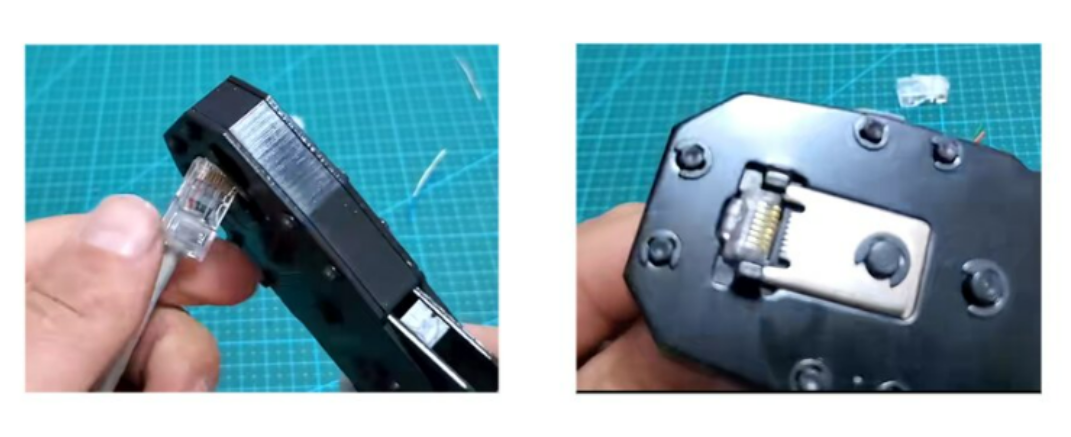
Step 4 – Crimp firmly and check pin depth and strain relief
1. Insert the loaded plug fully into the crimping tool. Make sure it’s seated all the way in.
2. Squeeze the crimper handles until the ratchet releases (on a ratcheting tool). Don’t stop halfway.
3. Remove the plug and inspect:
○ The gold pins should now be pushed down into the plastic, not sitting flush or proud. If they still look high, you either didn’t squeeze fully or the tool is low-quality/incorrect for that plug.
○ The strain-relief tab should have bitten into the cable jacket, not bare conductors.
○ On pass-through ends, the trimmed conductors should be flush or almost flush with the plastic.
Repeat the process on the other end of the cable, making sure you use the same wiring standard (T568B on both ends for a straight-through cable).
Common RJ45 Crimping Mistakes and How to Fix Them
Reading through many troubleshooting discussions, you see the same failure patterns again and again. Here are the big ones and how to avoid them.
Mistake 1 – Using the wrong cable type or AWG
Sometimes the cable isn’t actually Ethernet cable at all (for example, alarm or serial cable with red and black conductors). Other times, it’s copper-clad aluminum (CCA) or a weird gauge that doesn’t match your RJ45 plugs.
If your cable jacket doesn’t clearly say Cat5e/Cat6 and list an AWG in the 22–24 range for solid, be suspicious. Cheap “Cat6” on marketplaces can be undersized or poorly constructed, making good terminations almost impossible.
Fix:
• Use genuine solid copper Cat5e or Cat6 from a reputable brand.
• Match your plugs to the cable category and AWG.
Mistake 2 – Pins not crimped deep enough
If the gold pins are still sitting high after crimping, they may not have pierced the insulation to contact the copper. This leads to dead or intermittent pins.
Causes include:
• Not pushing the plug fully into the crimper.
• A cheap crimper with loose tolerances.
• Using shielded or Cat6 plugs on thin cable that the teeth can’t bite into.
Fix:
• Always push the plug all the way into the tool until it clicks into place.
• Use a quality crimp tool from a known brand and plugs that match your cable.
• If in doubt, crimp once, reposition slightly, and crimp again — but if that doesn’t help, replace the plug rather than crushing it.
Mistake 3 – Too much jacket stripped, no strain relief
If you can see several centimeters of untwisted wires outside the connector, the strain-relief tab is biting the conductors instead of the jacket — or nothing at all. The cable will be fragile, and the pairs will be untwisted for too long, hurting performance.
Fix:
• Strip only enough jacket to arrange the wires — roughly 1–2 inches at first, then trim down.
• Aim for the jacket to extend into the back of the plug, just past the strain-relief point.
Mistake 4 – Wrong wiring order or mismatched standards
It’s easy to mix up a pair, especially when you’re stressed and your fingers are tired. It’s also common to wire T568A on one end and T568B on the other by accident, which creates a crossover cable when you don’t want one.
Fix:
• Memorize or print the T568B order and verify both ends before crimping.
• Use pass-through connectors if you struggle to keep the order correct — you can visually confirm everything before you squeeze.
• Use a tester on every new cable, even if you’re “sure” it’s right.
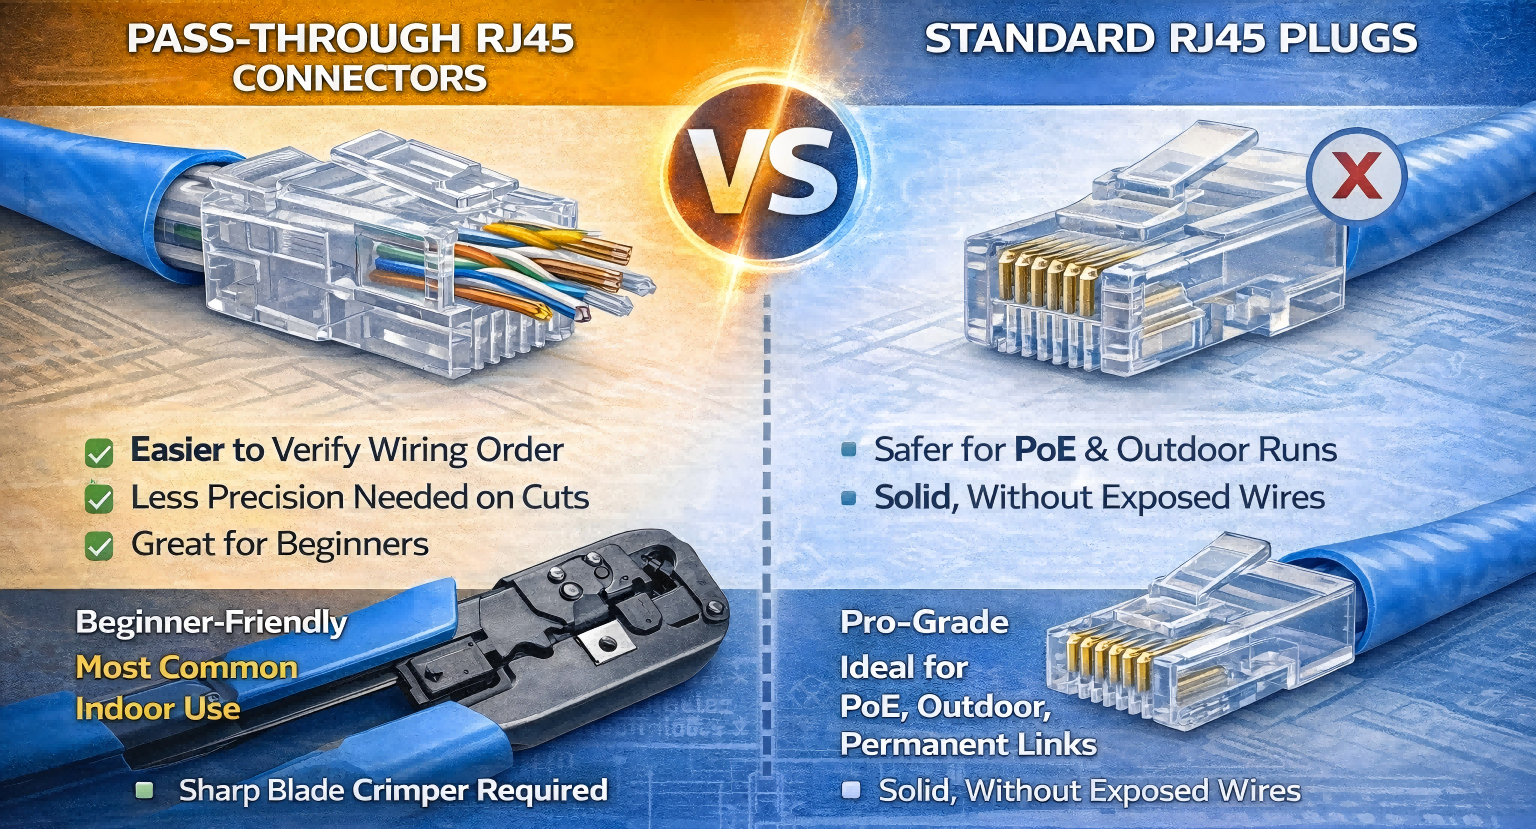
Pass-Through RJ45 vs Standard Plugs
Pass-through RJ45 connectors are extremely popular among beginners and many working techs. You slide the conductors all the way through the front, check the order with your eyes, then crimp and cut in one motion.
Pros:
• Much easier to verify correct order.
• Less precision needed when trimming wire length.
• Great for people who don’t do this every day.
Cons and caveats:
• You need a pass-through-compatible crimper with a sharp integrated blade. Dull blades can leave conductors too long, preventing the plug from fully seating in the port.
• There can be a tiny bit of exposed conductor at the tip if not trimmed perfectly, which some technicians dislike — especially for PoE and outdoor runs, where corrosion or shorts are more likely.
For indoor home networking and short patch runs, pass-through ends with a good crimper are often the most beginner-friendly way to crimp RJ45 connectors. For outdoor cables, PoE cameras, or critical permanent links, many pros still prefer standard, non-pass-through plugs or keystone jacks.
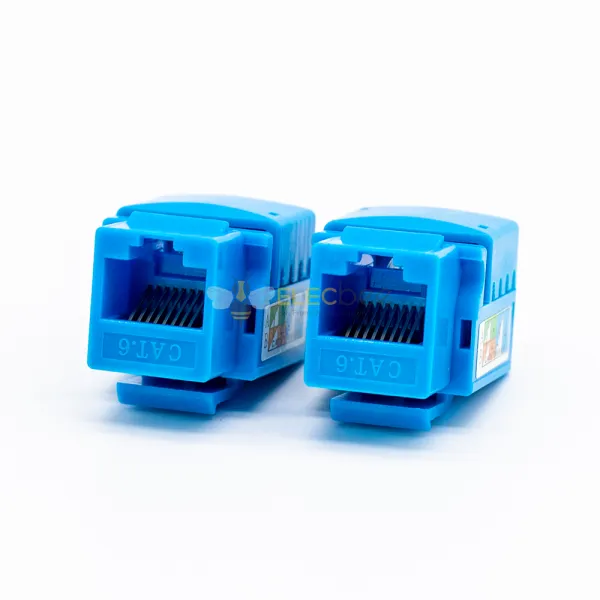
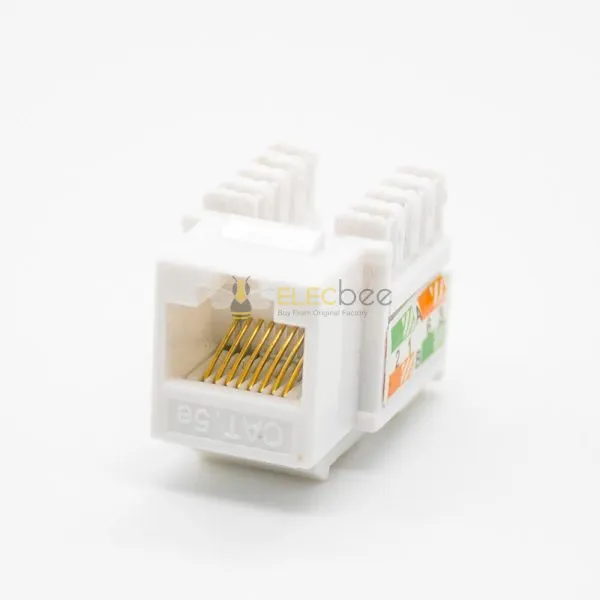
Keystone Jacks, Patch Panels, and When to Stop Crimping
A strong theme in many technical discussions is:
“Just put keystone jacks on the solid cable and use pre-made patch cables.”
And that’s actually aligned with industry best practices.
• Solid cable is meant for permanent runs and is easiest and most reliable when terminated into keystone jacks or a patch panel using a punch-down tool.
• From the wall plate or patch panel, you use short, pre-made stranded patch cables to connect to devices and switches.
This approach has several benefits:
• You crimp far fewer plugs yourself (maybe none).
• Keystone terminations are easier for many beginners than tiny RJ45 plugs.
• If a patch cable goes bad, you swap it in seconds without touching the in-wall cabling.
For a typical home:
• Termination point: Patch panel or keystones in a small cabinet.
• Room outlets: Keystone wall plates.
• Device connections: Factory patch cables from wall to PC / TV / access point.
If you’re only fixing one bad connector on an otherwise working run, crimping an RJ45 can be worth the effort. But if you’re wiring an entire apartment or house, investing in keystone jacks and a punch-down tool will save you a lot of frustration.
Testing Your Cable (and Knowing When to Give Up)
Even experienced installers occasionally make a bad crimp. That’s why they always test.
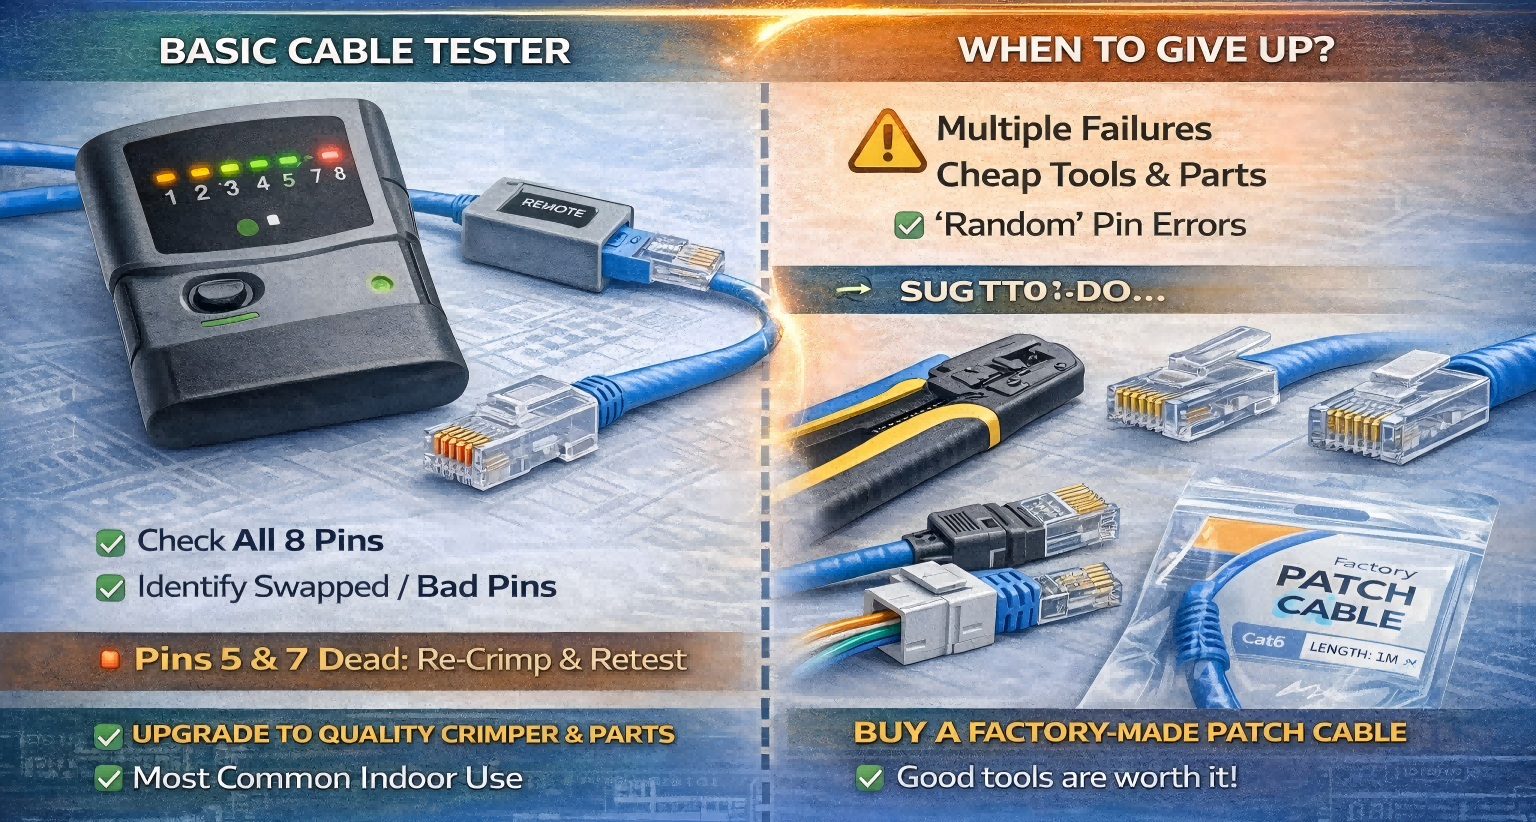
Basic testing
A simple tester will:
• Tell you if all eight pins are connected.
• Show swapped pairs or open/shorted pins.
Plug one end into the main unit, the other into the remote, and run the test. If pins 5 and 7 (for example) show dead, cut the plug off, inspect the end, and try again with a new connector.
When to start over completely
If you’ve:
• Tried multiple times with the same crimper and plug type, and
• Verified you’re using real Cat5e/Cat6 cable, and
• Still get random failures…
…it may be time to question the quality of the tools and materials, not your skill. Cheap connectors and off-brand crimpers can cause inconsistent results even when you do everything right.
In those cases, your smartest move might be:
• Buy a better crimper and decent connectors, or
• Switch to keystone jacks + pre-made patch cables, or
• For a one-off cable, simply buy a factory-made patch cable of the correct length.
There’s no shame in that. The goal of learning how to crimp RJ45 connectors isn’t to suffer; it’s to understand what’s going on so you can make the right decision for your network.
Conclusion
Learning how to crimp Ethernet cables is a rite of passage in home networking, but it shouldn’t drive you crazy. Most of the pain seen in online discussions comes from the same set of issues: wrong cable, mismatched connectors, poor tools, too much jacket stripped, and pins not crimped fully.
Get the basics right — appropriate cable, matching RJ45 plugs, a decent crimper, and a simple tester — and follow the step-by-step process in this guide. Whether you stick with standard connectors, embrace pass-through ends, or decide keystone jacks and pre-made patch cables are your best friends, you’ll be making reliable connections and passing tests far more consistently.
If you do it right, the only time you’ll think about your Ethernet cables again is when you’re bragging that you wired your own network.