


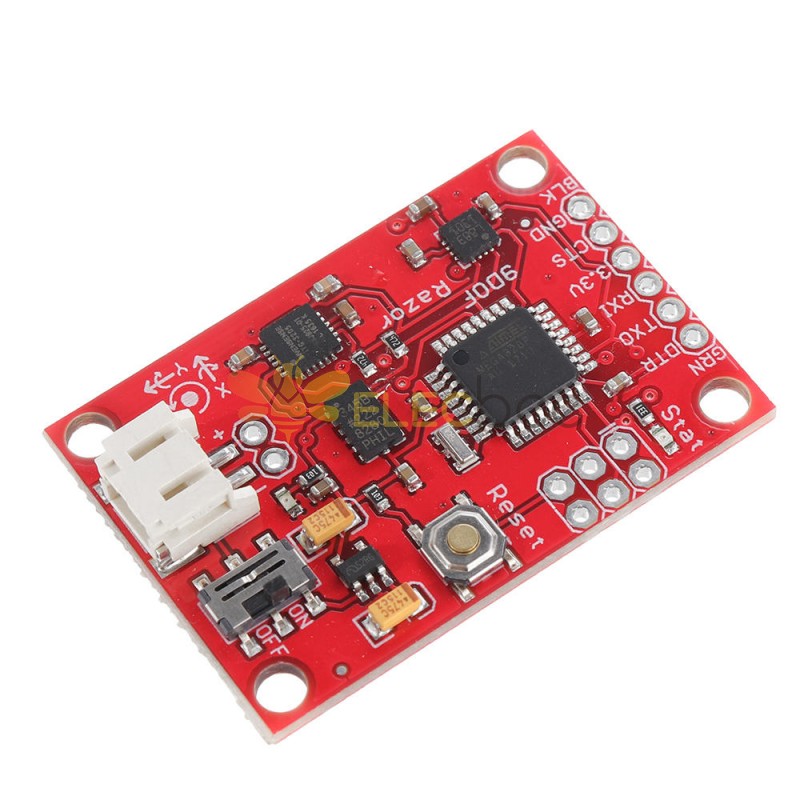
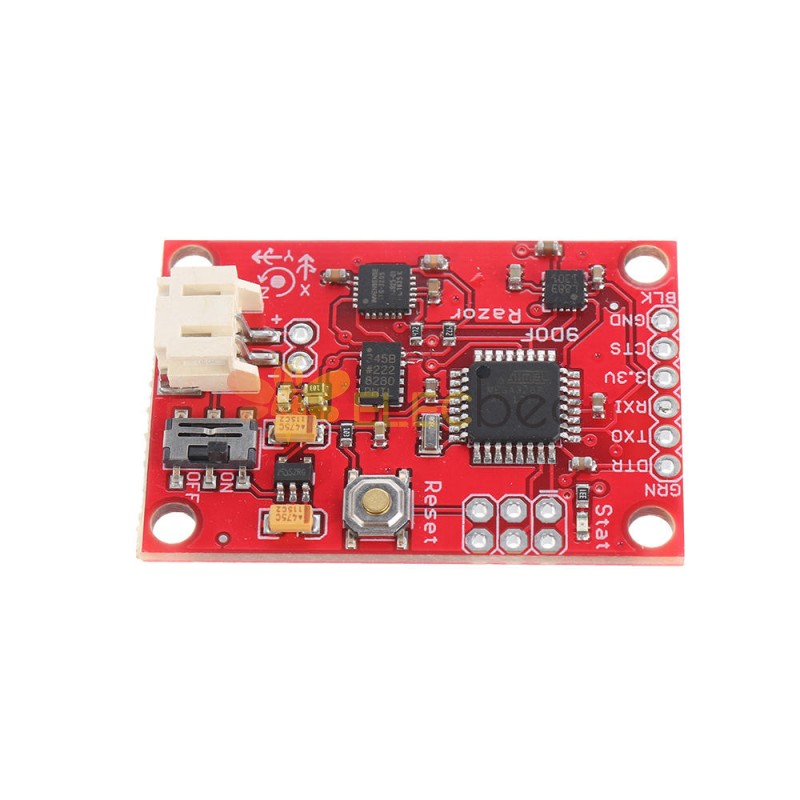
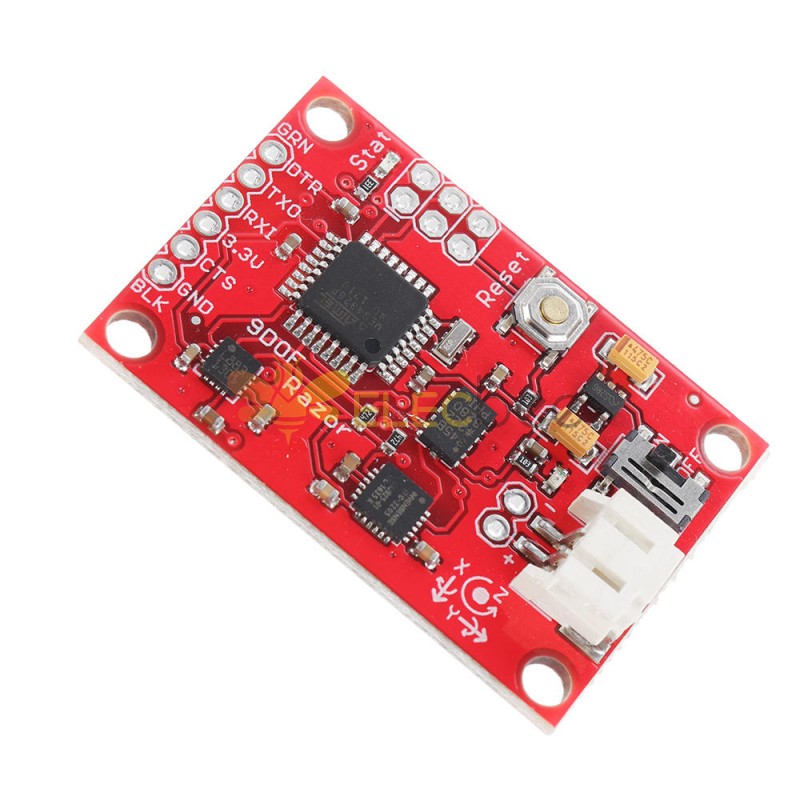


- 商品详情


标准校准:
启动电源可能会很好剃刀校准前几分钟,以便传感器可以预热。 第一次校准传感器可能有点棘手,但让我们开始吧:
- Open for /剃刀_AHRS/剃刀_AHRS.inousing for并找到“用户设置区域”/“传感器校准”部分。 这是您稍后放置校准值的地方。
- 连接剃刀 AHRS到您的计算机,设置正确的串行端口并打开串行监视器.
如果您没有更改固件默认值,您应该会看到很多这样的输出:
#YPR=-155.73,-76.48,-129.51设置固件输出方式到校准通过发送字符串#oc。 您现在应该看到如下输出:
加速度 x,y,z (最小/最大) = -5.00/-1.00 25.00/29.00 225.00/232.00
- 校准加速度计:
- 我们将尝试在每个轴上找到地球引力的最小和最大输出值。当你移动板子时,移动它真的很慢,所以你施加的加速度尽可能小。我们只想要纯粹的重力!
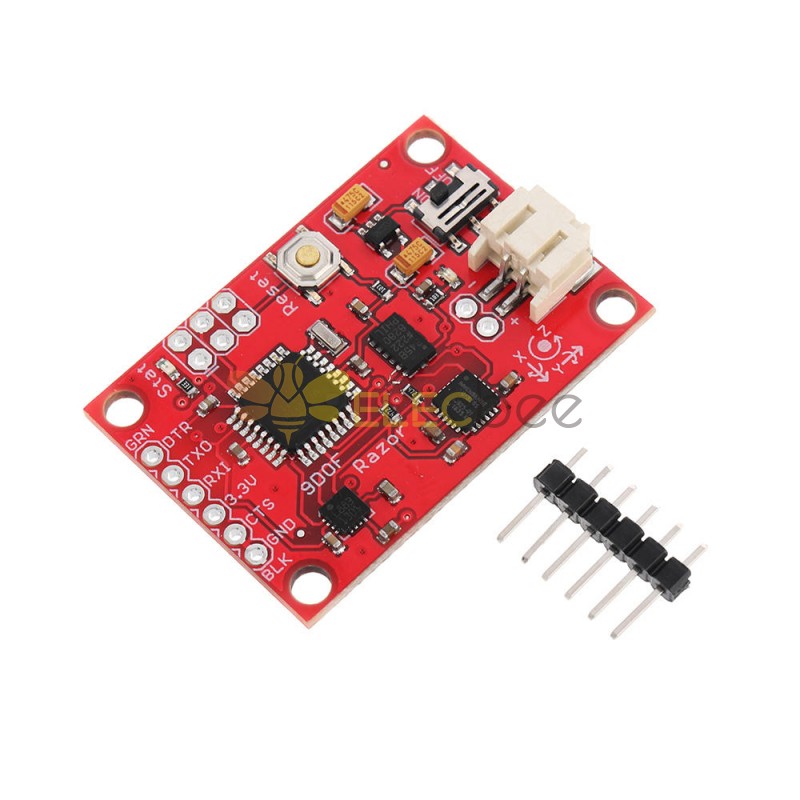
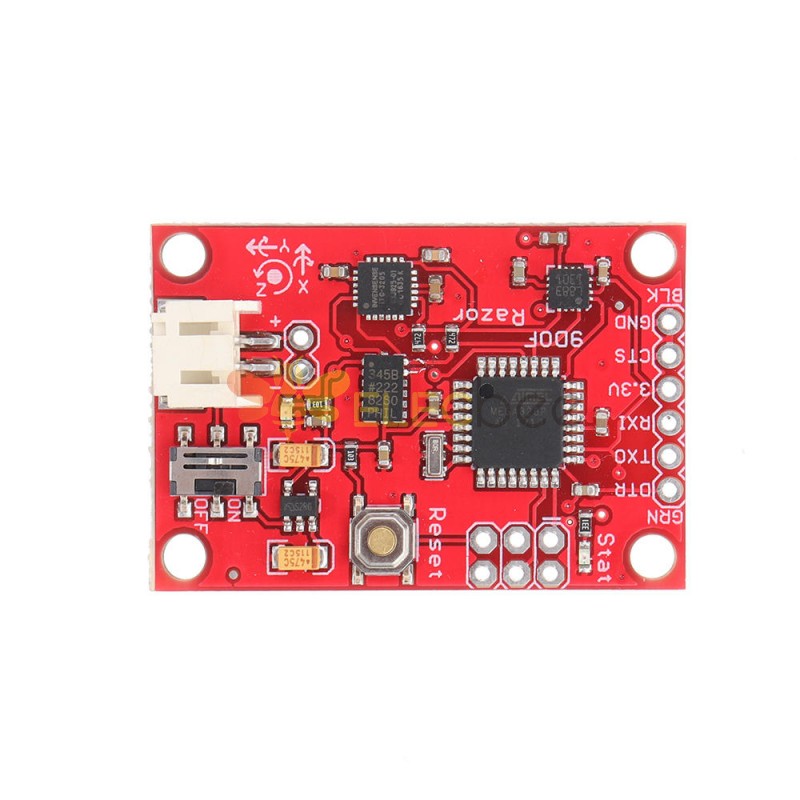
- Take the board and point straight down with the x-axis (remember: x-axis = towards the short edge with the connector holes). While you do that, you can see the x-maximum (the second value) getting bigger.
- 保持电路板静止并再次发送#oc 重置测量值。
- 现在小心地将板向各个方向倾斜一点,直到值不再变大并记下 x 最大值。
- Do the same thing for the opposite side (x-axis pointing up) to get the x-mini mum: bring into position, send#octo reset measurement, find x-mini mum value and write it down.
- 对 z 轴(向下和向上)和 y 轴(左右)执行相同的操作。
- 如果您认为由于摇晃或移动板太快而弄乱了测量,您可以随时通过发送#oc 来重置。
- You should now have all the min/max values. Put them into剃刀_AHRS.ino.
- 笔记: You have to be really careful when doing this! Even slightly tapping the board with the finger messes up the measurement (try it!) and leads to wrong 校准. Use#ocvery often and double check your min/max values)
校准磁力计:
- 这一次您可以随意摇动电路板,但要使其远离由计算机和其他电子设备和金属物体引入的磁畸变。
- 仍然校准 modefor the accelerometer. Send#on, which will move 校准 to the下一个传感器,也就是磁力计。
- 笔记:This section stays here for reference, but you should use the newer "Extended magnetometer 校准 (see下一个 section) 因为它产生了更好的结果! 您可以跳过此步骤并继续使用陀螺仪。
- We'll try to find the mini mum and maximum output values for the earth magnetic field on each axis. This basically works like calibrating the accelerometer, except the magnetic field of the earth does not point down straight. Depending on where on the planet you currently are, it points north-and-up (southern hemisphere) or north-and-down (northern hemisphere) at a certain angle. This angle is called倾角. Additionally there might be a tiny deviation from true geo graphic north, which is called偏角. 看维基百科. 以下描述假设您正在校准北半球的磁力计。
- Hold the board flat like a compass with the x-axis (remember: x-axis = forward, towards the connector holes) pointing north. Then begin to rotate the board 大约 the east-west axis so it starts pointing down. Observe the x-maximum (the second value) in the串行监视器and you will notice when you aligned the board’s x-axis with the magnetic field of the earth. Stop rotating there and again tilt a little in every direction until the value does not get bigger any more.
- Do the same thing for the opposite side to get the x-mini mum: first point north, then down.
- For the magnetometer we don’t need to reset with#ocbetween measurements.
- 对 z 轴(上/下)和 y 轴(左/右)执行相同的操作。
- 笔记: The rotation of the board大约the axis you want to measure doesn’t matter, only that it points into the correct direction. E.g when you start measuring the z-axis, it doesn’t matter if the x-axis points up or down or left or right.
You should now have something like this in your串行监视器:
放大 x、y、z(最小值/最大值)= -564.00 / 656.00 -585.00 / 635.00 -550.00 / 564.00Put these values into剃刀_AHRS.ino.
校准陀螺仪:
- Lay the剃刀still on the table.
- 仍然校准 modefor the magnetometer. Send#on, which will move 校准 to the下一个sensor, which is the gyroscope.
- Wait for 10 seconds, and do not move the剃刀.It will collect and average the noise of the gyroscope on all three axes.
You should now have output that looks like this:
陀螺仪 x,y,z (电流/平均值) = -29.00/-27.98 102.00/100.51 -5.00/-5.85- If you think you messed up the measurement by shaking or moving the board, you can reset by sending#oc.
- Take the second values of each pair and put them into剃刀_AHRS.ino.
- Done :)
Extended magnetometer 校准
- 要开始校准,请将传感器放在稍后将使用的磁性环境中 - 例如 在耳机上的确切位置,如果您需要对音频应用进行头部跟踪(耳机有很强的磁铁,校准后移动传感器的次数越少,效果就会越好;您还应该考虑放置一些虚拟材料 耳罩之间,使它们处于正常的听力位置)。
- Quit all applications that read from the sensor (e.g.串行监视器,加工test sketch, …) and run the加工magnetometer 校准 sketch located in in加工/Magnetometer_校准. In fact, you have to install the EJML library first, else the sketch won’t run. How to do that? Have a look at the笔记at the top ofMagnetometer_校准.pde.
尝试以某种方式旋转传感器,以便覆盖所有方向,以便产生或多或少均匀覆盖球体的点。
In a mostly undistorted environment this could look something like this:

HitSPACEand watch the加工console - you’ll find some lines of code that you have to put into the firmware under"USER SETUP AREA"/"SENSOR CALIBRATION"and you’re done.
The collected data (the dots) are also written to a filemagnetom.floatin the sketch folder. Now in case you own Matlab, underMatlab/magnetometer_校准you’ll find a script calledmagnetometer_校准.mthat uses this file and produces some plots for you, so you can visually check the 校准.
Ellipsoid fit and corrected values:


Another 校准 example: Soft iron gives a sphere scaled and distorted into an ellipsoid.
Sampled raw magnetometer values:

Ellipsoid fit and corrected values:


- 商品评价
- 商品咨询
-
:Elecbee产品的起源在哪里?它们是否获得了认证?2023-03-03
-
店主回复:
Elecbee与中国的OEM工厂长期合作,以此来降低中间渠道成本,帮助您节省开支。我们的产品都是严格按照相关全球标准制作的,以确保产品具有良好的兼容性和卓越的品质。
2023-03-03
-
:您接受哪些付款方式?2023-03-03
-
店主回复:
我们的主要付款方式包括Paypal、信用卡、借记卡、银行转账等等,更多付款方式等待您的发现。请选取您喜欢的付款方式。
2023-03-03
-
:您何时安排发货?2023-03-03
-
店主回复:
在确认收到您的付款后,我们会尽快安排送货,并上传快递单号至网站,以供您跟踪。
2023-03-03
-
:如何进行退换货?2023-03-03
-
店主回复:
1.您可以在收到商品后的30天内申请退货。请确保外包装完好无损,产品保持原状。一旦我们收到包裹,根据相关规定安排退款。
2.退货流程:提交退货申请 - 审核通过退货申请 - 安排退货 - 收到商品并检查 - 我们安排退款。
3.对于因我们造成的退货,例如质量问题,我们将承担运费。对于由买家造成的退货,买家应负责运费。
2023-03-03