

 0
0
Ah, the BNC Connector! Short for Bayonet Neill-Concelman, this connector is the linchpin of many communication, audiovisual, and networking systems. When things go haywire—like your CCTV camera blinking like a disco light or your RF equipment acting moody—the BNC connector is often the culprit. But before you start pulling your hair out or blaming the entire setup, you need to know how to test a BNC connector effectively. Let’s jump in!
Tools You'll Need
When it comes to testing a BNC connector, you don’t need an arsenal of fancy gadgets. Here's the basic toolkit to get you started:
- Multimeter: A digital one is highly recommended.
- BNC Test Leads: You can DIY these or buy them pre-made.
- Needle-Nose Pliers: For some hands-on adjustments.
- Small Flat-Head Screwdriver: To navigate any small screws or pins.
Safety First
Before you embark on your testing adventure, ensure all devices connected to the BNC are powered off and unplugged. We don’t want any electrical hiccups, do we? Also, make sure you're in a dry, well-lit area for optimal safety and visibility.
Understanding Connector Anatomy
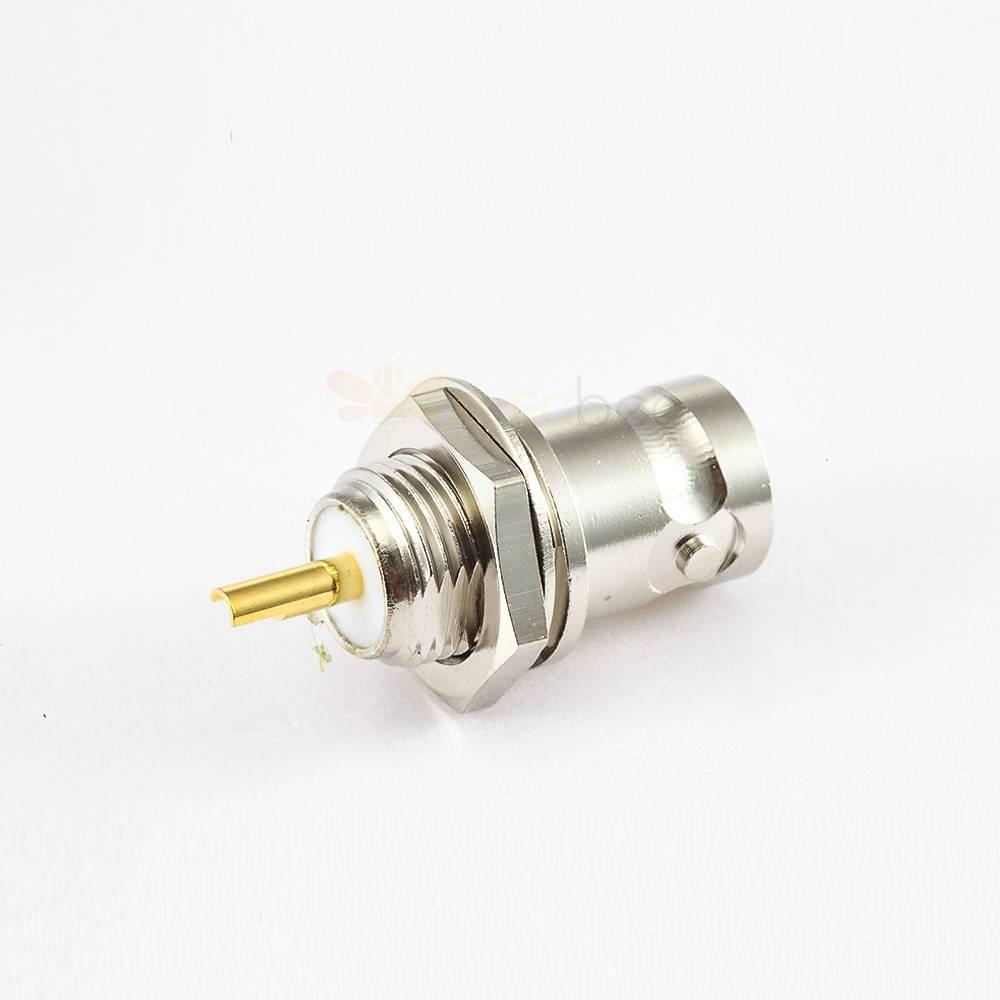
Understanding the anatomy of a BNC connector will not only make you sound like a pro but will also help you conduct an effective test. The connector has a center pin and an outer shield. The pin carries the signal while the shield serves as grounding. Knowing this can help you pinpoint where the problem lies—be it a broken pin or a faulty shield.
Testing Continuity
Step 1: Preparing the Multimeter
Switch on your multimeter and set it to the continuity testing mode, often represented by a diode symbol or simply "Cont." This mode will allow the multimeter to beep when it detects a continuous circuit, making it easier for you to identify any flaws.
Step 2: Testing the Center Pin
Insert one of the BNC test leads into the multimeter. Now, place the probe on the center pin of the BNC connector. The other probe should touch the corresponding end of the cable. If your multimeter beeps, congratulations, the center pin is in good shape! If not, you may need to replace the connector or repair the wire.
Step 3: Testing the Outer Shield
Just like you did with the center pin, place one probe on the outer shield of the BNC connector. The other probe should touch the other end of the shielded cable. A beep from the multimeter is a green light, while no sound means it's time to investigate further.
Checking for Shorts
Sometimes, a short circuit could be the phantom menace behind all your BNC problems. To test for this, place one probe on the center pin and the other on the outer shield. If you hear a beep, Houston, we have a problem! This indicates a short circuit and requires immediate attention.
The Human Eye Test
Never underestimate the power of a visual inspection. Sometimes the issue is as simple as a bent pin, a crack in the plastic casing, or even corrosion on the connector. A keen visual survey can often reveal problems that electronic tests might overlook.
Additional Tips
1. Calibrate Your Multimeter
Before starting your tests, calibrate your multimeter using a known good connector or another reference. This ensures your measurements are accurate.
2. Cable Integrity
Sometimes the issue may not be with the BNC connector itself but with the cable. A continuity test along the cable can help rule out this issue.
3. Isolate the Issue
If you're dealing with multiple BNC connectors, isolate each for testing to pinpoint the problematic one.
4. Consult Manufacturer Guidelines
Check any manufacturer documentation for specific testing recommendations.
5. Periodic Maintenance
Regularly check your BNC connectors to ensure they remain in good condition.
6. Advanced Testing
For those comfortable with more advanced tools, an oscilloscope can provide deeper insights.
7. Signal Quality Tests
Conduct advanced tests like measuring attenuation or signal-to-noise ratio, if your multimeter supports it.
8. Corrosion Prevention
Use a contact cleaner to prevent future corrosion.
9. Record Keeping
Keep a log of your tests for future reference.
10. Consult an Expert
If in doubt, seek professional help.
Wrap Up: What Now?
If your BNC connector passed all these tests with flying colors, you've got a champion connector right there! If not, it might be time to consider replacement or repair. Remember, a faulty BNC connector can compromise the entire system, so it's worth investing time in thorough testing.
Your journey from clueless to connector-connoisseur is now complete. Next time a piece of tech decides to go on a spontaneous holiday, you'll know exactly where to look and how to get it back on track! Happy testing!