

If you're a CCTV enthusiast or a professional installer, you know the importance of having a reliable and secure connection between your camera and DVR. BNC connector are popular for CCTV installations because they are easy to use and provide reliable connectivity. However, buying pre-made BNC connectors can be expensive, especially if you need a lot of them.
Fortunately, making your own BNC connectors is not as difficult as you might think. In this article, we will guide you through the process and show you how to make a BNC connector for CCTV.
What is a BNC Connector?
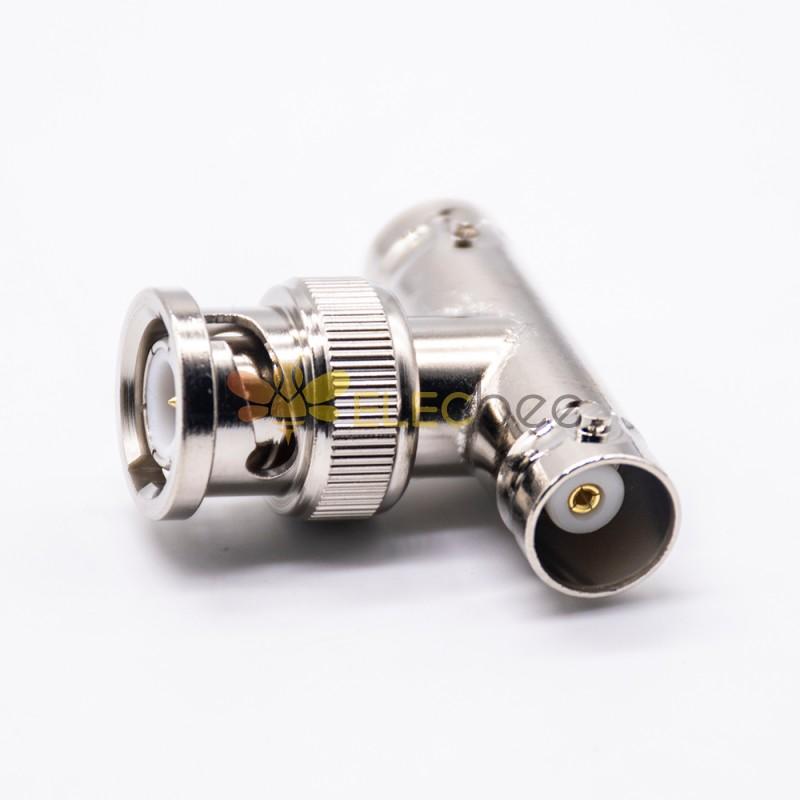
Before we start, let’s first understand what a BNC connector is. BNC stands for Bayonet Neill-Concelman, named after the inventors who developed this type of connector. A BNC connector is a type of coaxial connector that is widely used in the CCTV industry. It is designed to provide a secure, low-loss connection between a coaxial cable and a CCTV camera or DVR.
BNC connectors come in two types: male and female. The male BNC connector has a pin in the center and a locking ring on the outside, while the female BNC connector has a socket in the center and a locking ring on the outside.
Materials You'll Need
To make a BNC connector for CCTV, you’ll need the following materials:
- A coaxial cable
- A male BNC connector
- A crimping tool
- A wire stripper
- A pair of scissors
- A heat gun or lighter (optional)
Step-by-Step Guide to Making a BNC Connector for CCTV
1. Strip the Coaxial Cable
The first step is to strip the coaxial cable. Use a wire stripper to remove about 1 inch of the outer jacket from the end of the cable. Be careful not to damage the inner conductor or the shielding.
2. Expose the Inner Conductor
After stripping the outer jacket, you will see the braided shield and the inner conductor. Use a pair of scissors to carefully cut away the braided shield, leaving the inner conductor exposed.
3. Trim the Inner Conductor
After exposing the inner conductor, you will notice that it is longer than the outer jacket. Use a pair of scissors to trim the inner conductor so that it is flush with the edge of the outer jacket.
4. Install the BNC Connector
Now it’s time to install the BNC connector. Slide the connector over the end of the coaxial cable, making sure that the inner conductor goes into the pin in the center of the connector. Use a crimping tool to crimp the connector onto the cable. Make sure that the connector is securely attached to the cable.
5. Check the Connection
Once you have crimped the connector onto the cable, check the connection to make sure it is secure. You can gently pull the cable to see if the connector is loose. If it does, you will need to redo the crimping process.
6. Optional Step: Heat-Shrink Tubing
If you want to add an extra layer of protection to your BNC connector, you can use heat-shrink tubing. Slide the tubing over the connector and use a heat gun or lighter to shrink the tubing around the connector. This will provide additional strain relief and protect the connection from moisture.
Conclusion
Making your own BNC connectors for CCTV is a simple process that can save you a lot of money. You can create reliable and secure connections between your CCTV cameras and DVR with the right tools and materials. Remember to always check your connections to ensure that they are secure and working properly. By following the steps outlined in this guide, you can make your own BNC connectors and take your CCTV installation to the next level.