
搜索产品...

启动电源可能会很好剃刀校准前几分钟,以便传感器可以预热。 第一次校准传感器可能有点棘手,但让我们开始吧:
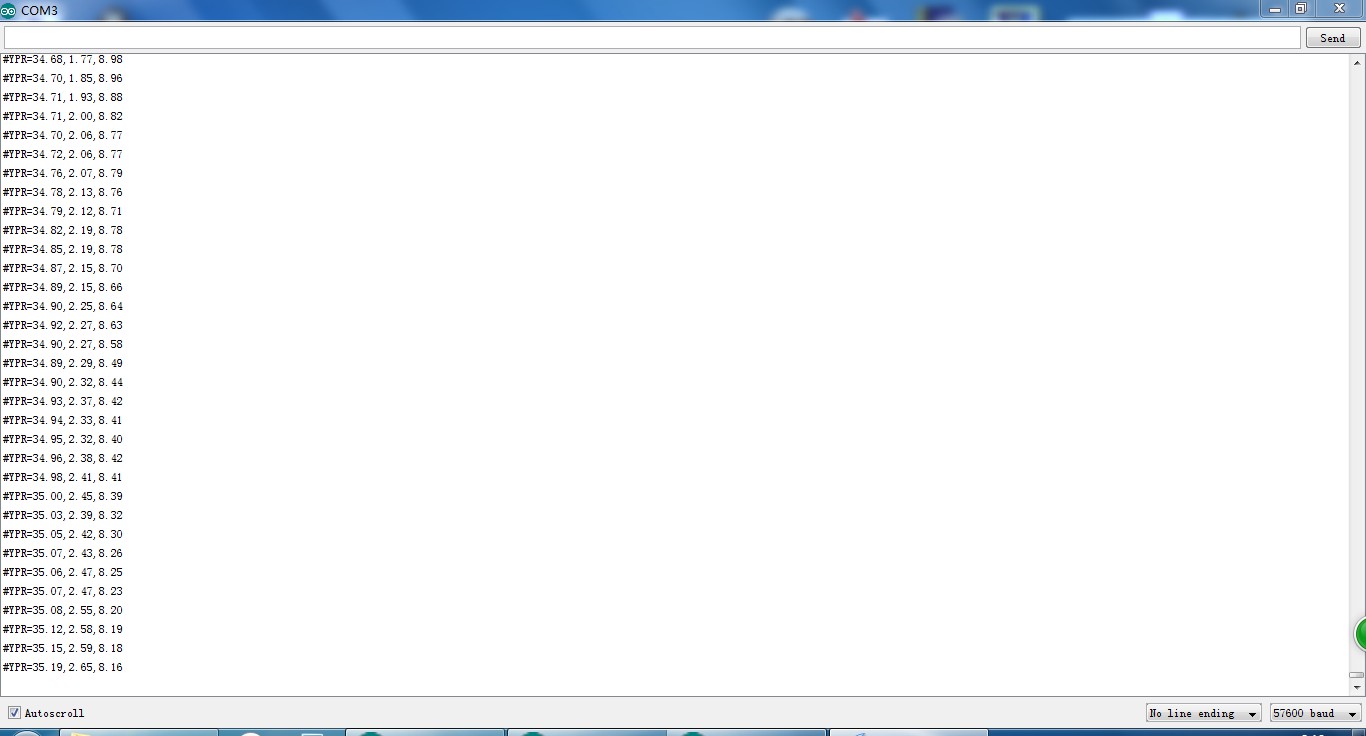
如果您没有更改固件默认值,您应该会看到很多这样的输出:
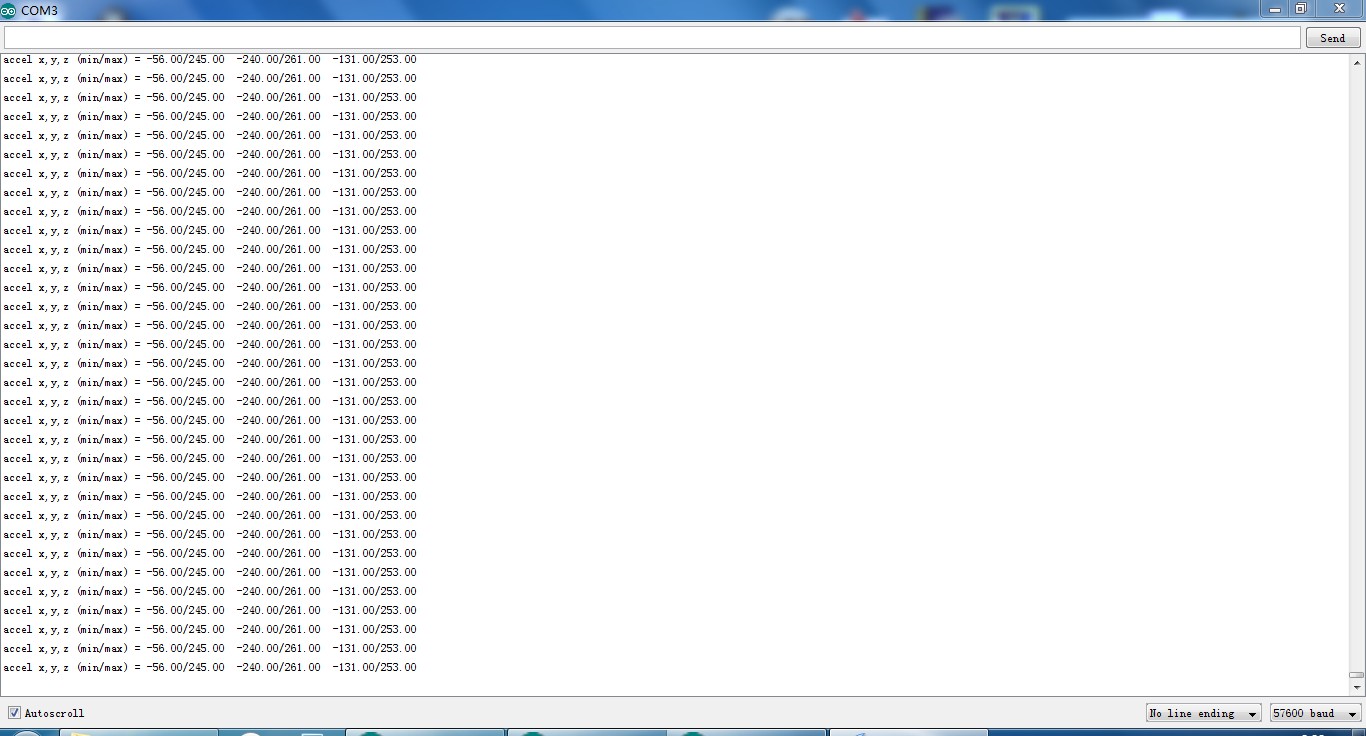
#YPR=-155.73,-76.48,-129.51设置固件输出方式到校准通过发送字符串#oc。 您现在应该看到如下输出:
加速度 x,y,z (最小/最大) = -5.00/-1.00 25.00/29.00 225.00/232.00校准磁力计:
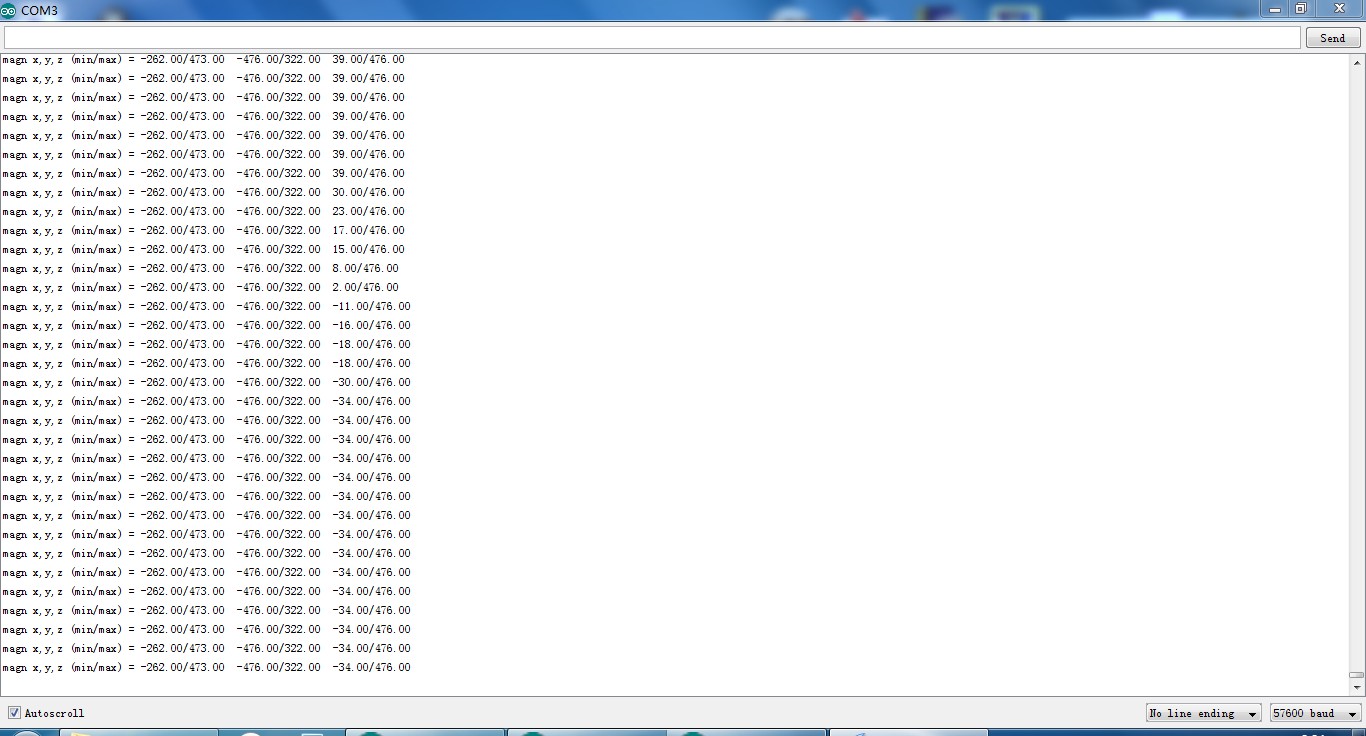
You should now have something like this in your串行监视器:
放大 x、y、z(最小值/最大值)= -564.00 / 656.00 -585.00 / 635.00 -550.00 / 564.00Put these values into剃刀_AHRS.ino.
校准陀螺仪:
You should now have output that looks like this:
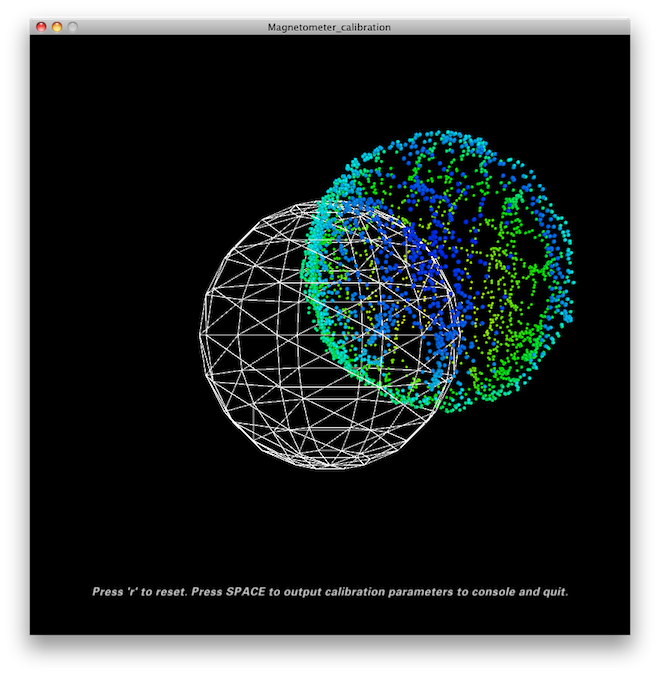
陀螺仪 x,y,z (电流/平均值) = -29.00/-27.98 102.00/100.51 -5.00/-5.85尝试以某种方式旋转传感器,以便覆盖所有方向,以便产生或多或少均匀覆盖球体的点。
In a mostly undistorted environment this could look something like this:
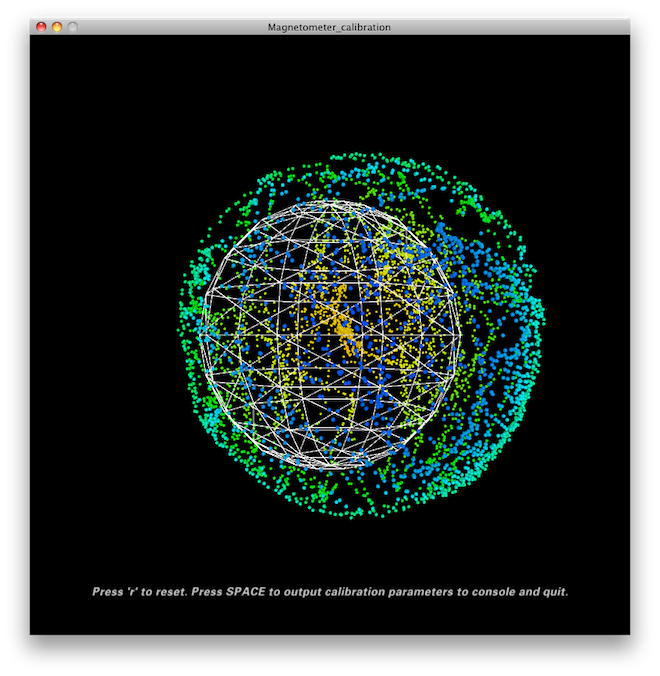
HitSPACEand watch the加工console - you’ll find some lines of code that you have to put into the firmware under"USER SETUP AREA"/"SENSOR CALIBRATION"and you’re done.
The collected data (the dots) are also written to a filemagnetom.floatin the sketch folder. Now in case you own Matlab, underMatlab/magnetometer_校准you’ll find a script calledmagnetometer_校准.mthat uses this file and produces some plots for you, so you can visually check the 校准.
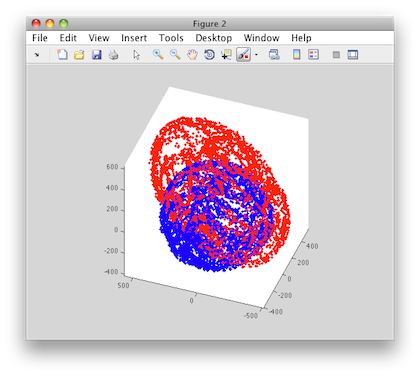
Ellipsoid fit and corrected values:
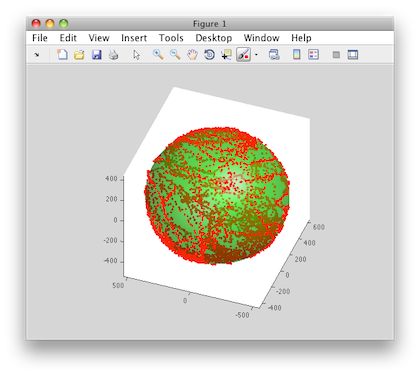

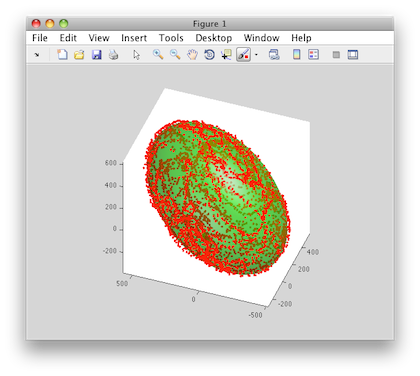
Sampled raw magnetometer values:
Ellipsoid fit and corrected values:
运费与发货 | 发货周期 | 现货商品预计3天内发货。 Elecbee每天下午5点发货一次,周日除外。 发货后,预计送达时间取决于您选择的承运商。 DHL快递:3-7个工作日 DHL电商:12-22个工作日 FedEx国际优先快递:3-7个工作日 EMS:10-15个工作日 挂号航空邮件:15-30个工作日 | |
| 运费标准 | 您订单的运费可在购物车中查看。 | ||
| 发货选项 | 我们提供DHL、FedEx、EMS、顺丰速运和挂号航空邮件国际配送服务。 | ||
| 发货追踪 | 订单发货后,我们将通过邮件通知您追踪号码。您可以使用“我的订单追踪”功能追踪您的订单。 | ||
| 退货与保修 | 退货 | 通常在发货日期30天内完成退货申请。请联系客服获得退货授权。商品须未使用且保持原包装。运费由客户承担。 | |
| 保修 | 所有Elecbee购买商品均享有30天无理由退款政策,以及1年制造缺陷保修。 | ||
| 此保修不适用于因客户组装不当、未按说明操作、产品改装、疏忽或不当操作而造成的缺陷。 | |||
| 下单与订购 | 如何订购 | Elecbee接受在线订单。 | |
| 加入购物车 > 结账 > 提交订单 > 完成支付 > 发货 | |||
| 支付 | 支持 PayPal、信用卡(包括 Visa、MasterCard、美国运通卡)以及银行转账。 | ||
