

If you're working with electronics, you may come across the GX16 connector. This type of connector is commonly used in aviation, marine, and industrial applications, and it has a reputation for its durability and reliability. However, if you've never worked with GX16 connectors before, you may be unsure of how to connect wires to them. In this article, we'll provide you with a step-by-step guide on how to connect wires in a GX16 connector.
What is a GX16 Connector?
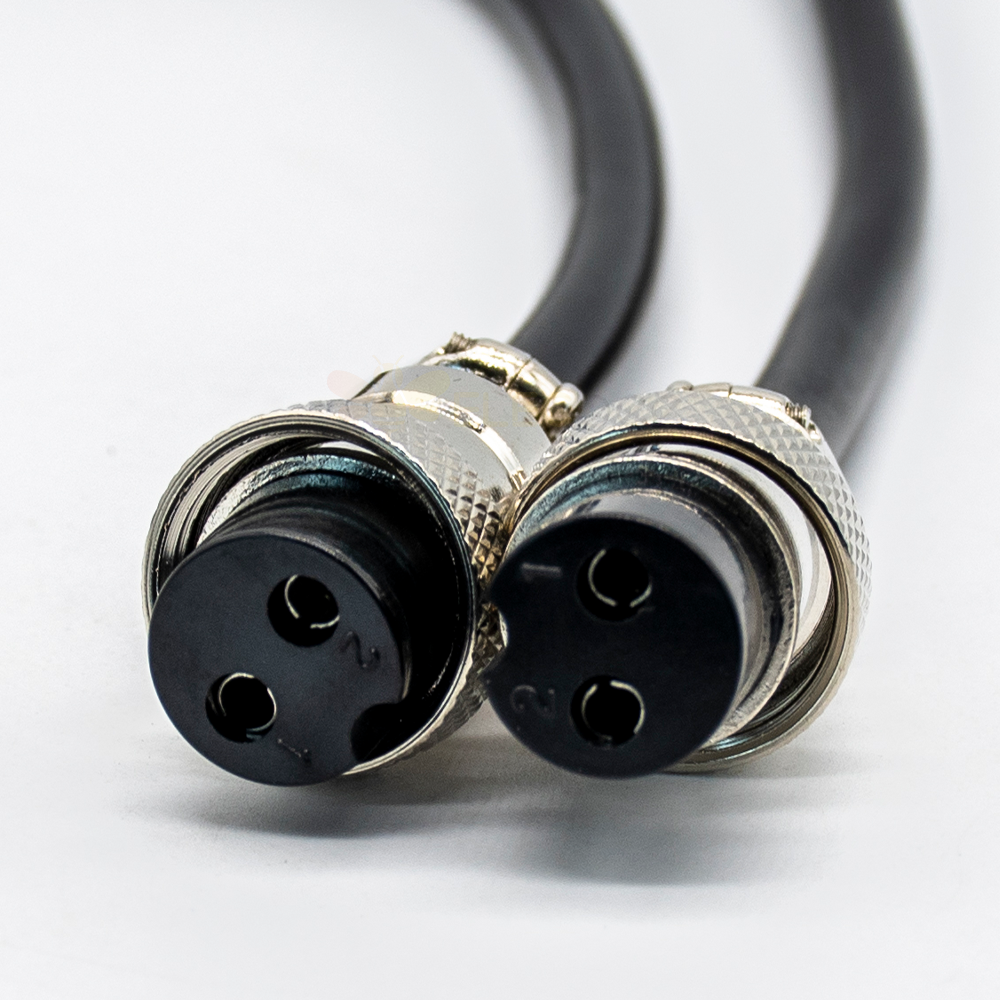
Before we dive into the details of how to connect wires in a GX16 connector, let's first understand what it is. A GX16 connector is a circular connector with a threaded coupling mechanism. It consists of a male and a female connector that fit together, and it's commonly used for power and signal applications.
The GX16 connector has a metal shell that provides a high degree of protection against environmental factors such as moisture, dust, and vibration. It's available in various sizes, and it's compatible with different wire gauges, making it a versatile connector for various applications.
Step-by-Step Guide on How to Connect Wires in GX16 Connector
- Step 1: Prepare the tools and materials
Before you begin, make sure you have the necessary tools and materials. You'll need a pair of wire strippers, a pair of pliers, a screwdriver, and the GX16 connector. You'll also need the wires you want to connect to the connector. Make sure the wires are the correct gauge and length for the connector.
- Step 2: Strip the wires
Using the wire strippers, strip the ends of the wires you want to connect to the connector. Strip about 1/4 inch of insulation from the end of each wire. Make sure you don't strip too much insulation, as this can expose the wire strands and cause a short circuit.
- Step 3: Insert the wires into the connector
Insert the stripped ends of the wires into the connector. Make sure the wires go all the way into the connector and that they're positioned correctly. The wires should be aligned with the pins in the connector.
- Step 4: Secure the wires
Using the pliers, crimp the metal sleeves on the connector over the wires. This will secure the wires in place and ensure a reliable connection. Make sure the sleeves are crimped tightly, but not so tight that they damage the wires.
- Step 5: Screw on the connector shell
Once the wires are secured, screw on the connector shell. Make sure the shell is threaded correctly and that it's tightened securely. This will provide a degree of protection against environmental factors and ensure the connector stays connected.
- Step 6: Test the connection
Once the connector is fully assembled, test the connection to make sure it's working correctly. Use a multimeter to check the continuity of the wires and make sure there are no short circuits or open circuits.
Conclusion
Connecting wires in the GX16 connector may seem daunting, but it's actually a straightforward process. By following the steps outlined in this article, you can ensure a reliable and secure connection that will withstand the test of time. Remember to always use the correct tools and materials and to test the connection before putting it into use. With a little practice, you'll be able to connect wires in a GX16 connector like a pro.