


TNC connectors are commonly used in communication systems to connect coaxial cables to antennas, switches, and other devices. They are designed to provide a reliable and secure connection that can withstand harsh environmental conditions. Crimping TNC connectors onto coaxial cables is a simple and cost-effective way to create custom-length cables for your communication needs. In this article, we will guide you through the process of crimping TNC connectors onto coaxial cables.
Tools and Materials Required
Before we start, let's gather the tools and materials required for crimping TNC connectors:
- Coaxial cable (RG58 or RG174)
- TNC connector
- Coaxial cable stripper
- Coaxial cable cutter
- TNC crimp tool
- Heat gun or lighter (optional)
Step 1: Preparing the Coaxial Cable
The first step is to prepare the coaxial cable by stripping off the outer insulation and the shielding to expose the inner conductor. Follow these steps:
- Use the coaxial cable stripper to remove about 1 inch (2.5 cm) of the outer insulation. Make sure not to cut into the shielding.
- Use the coaxial cable cutter to cut the shielding and the inner insulation at the end of the cable. Be careful not to cut the inner conductor.
- Use your fingers to separate the shielding from the inner insulation and twist the shielding into a single strand. This will create a braid around the inner conductor.
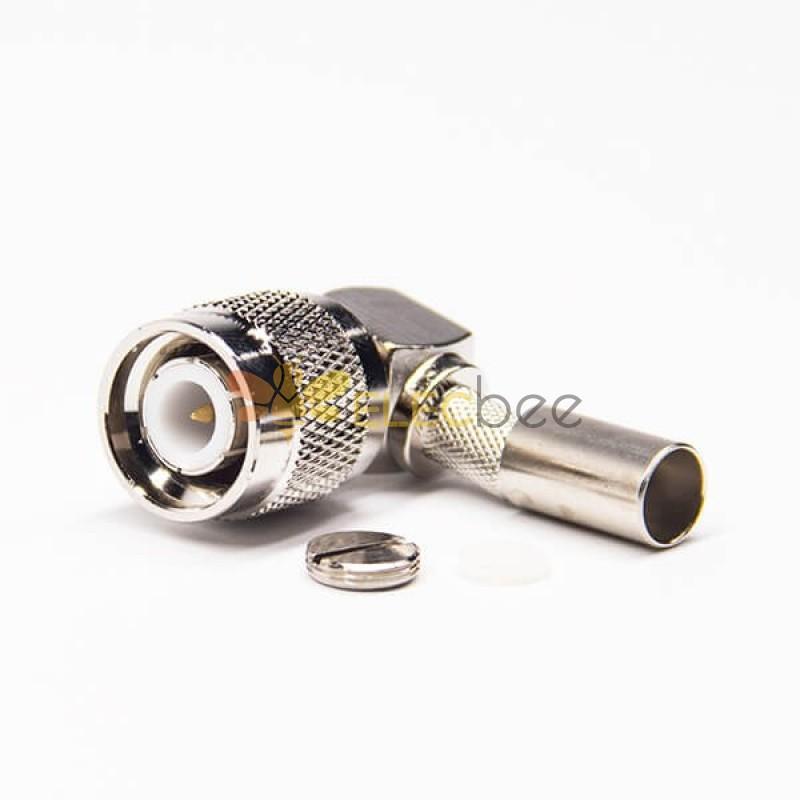
Step 2: Installing the TNC Connector
The second step is to install the TNC connector onto the coaxial cable. Follow these steps:
- Insert the TNC connector onto the end of the coaxial cable with the inner conductor sticking out of the connector's center pin.
- Slide the connector back so that the end of the connector is flush with the end of the cable's outer insulation.
- Use the TNC crimp tool to crimp the connector onto the cable. The crimp tool will compress the connector onto the cable, creating a secure connection. Make sure to align the crimp tool's crimping die with the connector's crimping ring.
Step 3: Finishing the Connection
The final step is to finish the connection by attaching the braid and the inner conductor to the TNC connector. Follow these steps:
- Fold the braid back over the outer insulation of the cable and slide the braid into the connector's crimping ring.
- Use the TNC crimp tool to crimp the connector's crimping ring onto the braid. Make sure to align the crimp tool's crimping die with the connector's crimping ring.
- Slide the connector's center pin onto the inner conductor.
- Use the TNC crimp tool to crimp the connector's center pin onto the inner conductor. Make sure to align the crimp tool's crimping die with the connector's center pin.
Optional Step: Heat Shrink Tubing
If you want to add an extra layer of protection to the connection, you can use heat shrink tubing. Follow these steps:
- Cut a piece of heat shrink tubing that is long enough to cover the connector and the cable's outer insulation.
- Slide the heat shrink tubing onto the cable, so it covers the connector.
- Use a heat gun or lighter to shrink the heat shrink tubing onto the cable and the connector. Be careful not to overheat the tubing.
Crimping TNC connectors onto coaxial cables is a simple and cost-effective way to create custom-length cables for your communication needs. By following the steps outlined in this article, you can create a reliable and secure connection that can withstand harsh environmental conditions. Remember to use the right tools and materials and to follow the manufacturer's instructions for your TNC connector and crimp tool. With a little practice, you'll be able to crimp TNC connectors like a pro!