


Soldering an SMA (SubMiniature version A) connector to your printed circuit board (PCB) allows you to connect external coaxial cables and equipment to your PCB. With the right technique and equipment, you can successfully solder SMA Connectors to your PCB and ensure a strong, secure connection. Here's how:
Materials Required To Solder SMA Connector to PCB:
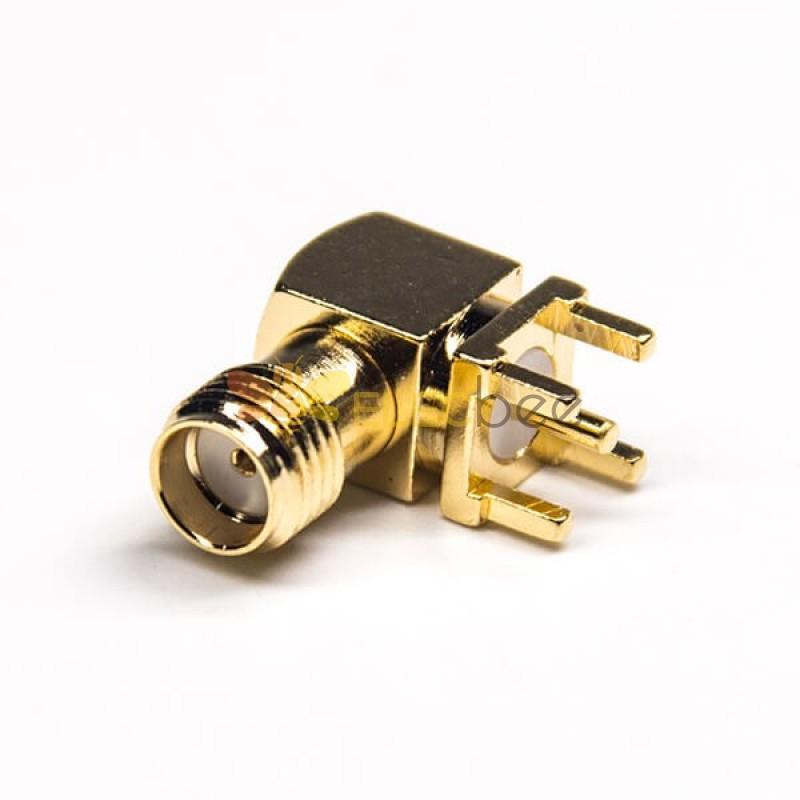
- SMA connector
- PCB
- Soldering iron
- Solder wire
- Flux
- Tweezers
- Wire cutters
- Solder sucker or wick
Detailed steps for Solder SMA Connector to PCB:
Step 1: Prepare the PCB
Before soldering the SMA connector, it is essential to prepare the PCB. Clean the PCB surface with a PCB cleaner or isopropyl alcohol to remove any dirt, debris, or oxidation. Ensure that the SMA connector fits correctly on the PCB and aligns with the pads.
Step 2: Apply Flux
Apply a small amount of flux to the pads where you will solder the SMA connector. Flux helps to remove oxidation and improve the flow of solder. It also helps to prevent solder bridges and cold joints.
Step 3: Tin the Pads
Use the soldering iron to heat the pad and apply a small amount of solder to it. This process is called tinning, and it helps to improve the adhesion of the SMA connector to the PCB. Ensure that the solder covers the entire pad and forms a smooth and shiny surface.
Step 4: Insert the SMA Connector
Insert the SMA connector into the holes on the PCB, ensuring that it aligns with the tinned pads. Use the tweezers to hold the SMA connector firmly in place.
Step 5: Solder the SMA Connector
Heat the pad and the SMA connector with the soldering iron. Apply a small amount of solder to the joint, ensuring that it flows evenly and covers the entire joint. Do not apply too much solder, as it can cause solder bridges and short circuits.
Step 6: Inspect the Joint
Inspect the joint to ensure that it is smooth, shiny, and free of defects. Use a magnifying glass if necessary. If the joint is not perfect, use the solder sucker or wick to remove excess solder and reapply the solder.
Step 7: Repeat the Process
Repeat the process for all the pads on the SMA connector. Ensure that each joint is perfect and free of defects.
Step 8: Clean the PCB
Clean the PCB with a PCB cleaner or isopropyl alcohol to remove any flux residue or debris.
Tips and Tricks:
- Use good quality solder wire and a soldering iron with a fine tip for better results.
- Use a flux pen for precise application of flux.
- Use a helping hand or a PCB holder to hold the PCB in place while soldering.
- Use a heat sink clip to prevent overheating of sensitive components.
- Practice on a scrap PCB to improve your soldering skills.
Soldering an SMA connector to a PCB requires patience, skill, and practice. By following the above steps and tips, you can achieve a perfect and reliable joint. Remember to use good quality materials, apply flux, tin the pads, and inspect the joint. With careful technique and the right tools, you can solder SMA connectors to your PCB quickly and securely. Follow safety protocols and take your time for the best results. Happy soldering!